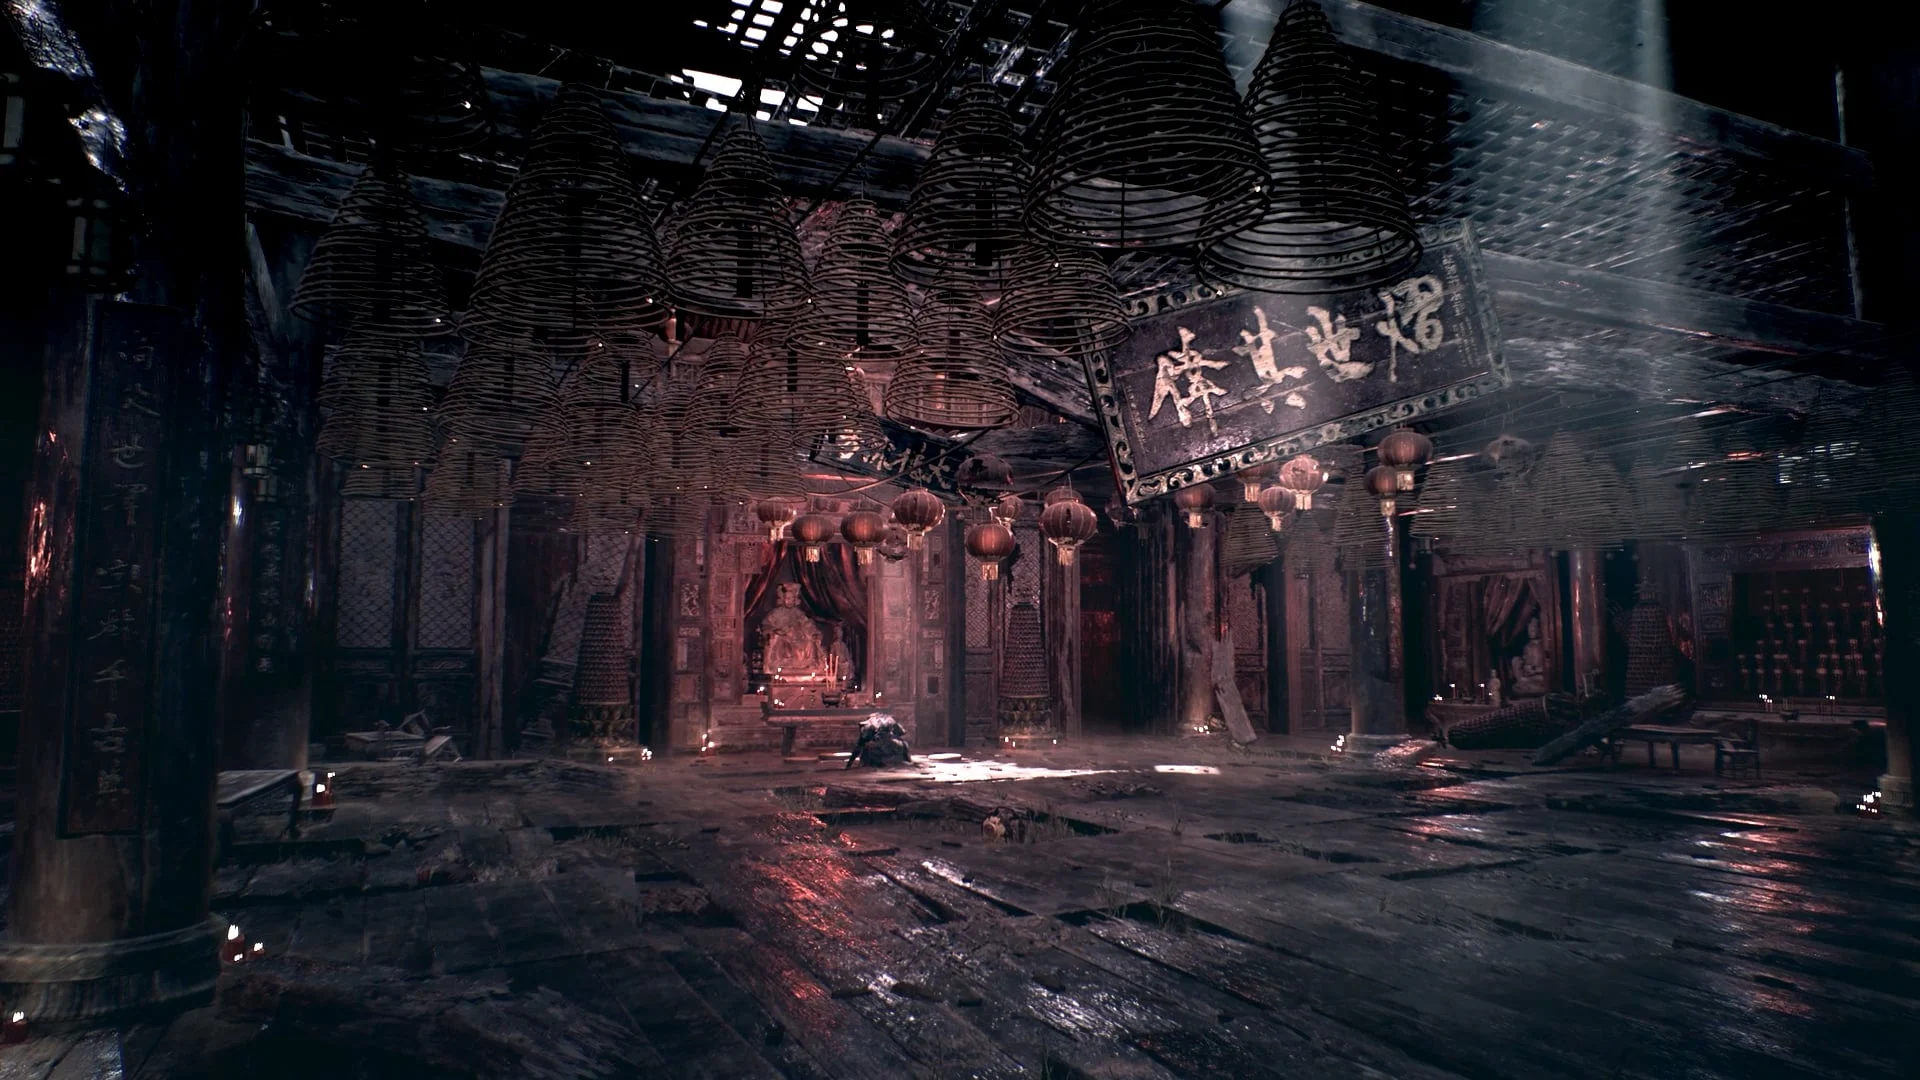
The Chief Disciple of the Seven-Star Formation is an optional boss in the Mandate Encampment that triggers when you go down from the Three Towers bell. Dodge the red thrust from all seven right at the start, take out the disciples one by one (the leader revives them by spending health) and, in the second phase, dodge the threads of the Sword of Despair. If you didn’t defeat Red in the Dovecote, she joins here. He is weak to fire and gives Swordsman’s Summon and the Llave de los campos de entrenamiento (training grounds key).
Boss profile
Health, Sha-Chi, recommended level and elemental weaknesses
Weaknesses
Phases: 2 · Region: Mandate Encampment
Bars relative to the boss with the most health (Mo Yuan, 186,000) and the most Sha-Chi (Huangxing, 55,860) in the game.
If you haven’t climbed to the Dovecote yet, do it first and leave the fight with Red by the chain on the roof without emptying her health. Only then does she join the second phase of this fight and, when you beat them both, you get the petal “The Mandate’s Decision” and the Twin Fish Pendant. We explain it in how to beat Red.
Where is he and how do you get there?
- Enter the EncampmentIt opens after you beat Gu Wanyue; you have the steps in how to enter the Mandate Encampment.
- Three Towers bellPush on to this bell, halfway through the Encampment.
- Go down to the esplanadeClimb down from the scaffolding toward the three burning towers at the back. When you reach the bottom the group appears and the fight begins.
How to beat the Chief Disciple
Phase 1: the Seven-Star formation
At heart, it’s a fight against a large group: the Chief Disciple and seven disciples. It’s long, but not hard if you don’t let them pile up.
- Opening red thrust: right at the start, all seven stab their swords at once. It can kill you in one hit: have your dodge ready.
- Formation attack (7 hits): two swordsmen attack up close, two kick and three throw sword waves from the back.
- Blue 1: the disciples lift the leader, who attacks you with a leap from the air. Deflect it.
- Blue 2: the leader jumps using the disciples as support and hurls himself at you spinning. Deflect it.
- Telegraphed red: when they spin their swords in formation, they all stab at once. It’s slower than the opening one, but just as deadly head-on. Dodge it.
- Out of formation: loose disciples throw slashes, with no long combos. That’s the moment to take them out.
The key is to split up and eliminate the disciples one at a time. When only three and the leader remain, killing one makes the leader revive it by spending part of his own health.
Phase 2: the Sword of Despair
- The three remaining disciples climb the three towers and control the leader with red threads: he becomes the Sword of Despair.
- He attacks several times moving from side to side and usually finishes with a blue. When the threads glow and he flashes a color, an attack of that color is coming.
- Thread barrage: when they lift him, he fires thread projectiles from his face. Keep moving from side to side.
- Open-thread red: counter it with the phantom counter (dodge at the last moment): it brings Soul right up to him and makes him easier to hit.
- Red: if you let her escape in the Dovecote, she joins here with the same moves as on the roof. You have to defeat both.
Strategies to beat him
Pick the one that suits the way you play. We only recommend gear you can have when you reach the Mandate Encampment.
Strategy with fast weapons (one-handed and dual)
In phase 1 you want to finish each loose disciple quickly. The best options here are Wild Oriole Sword and Parting Hooks. Pull a disciple out of the formation, eliminate him and back off before the next joint attack. Keep your other weapon in reserve: switching restores all your Sha-Chi.
Strategy with heavy weapons (two-handed)
Wide sweeps hit several disciples at once, but leave you exposed to the joint thrust. Try Outlaw Warblade or Armybreaker and use them when the formation breaks.
Elemental strategy (exploit his weaknesses)
He is weak to fire. Equip:
- Fire: Fire Meteor (Blaze’s Phantom Edge, in Pangzhen); Flaming Mane (Phantom Edge that Lei Dang repairs after you beat Flame, very good against groups); Goldblaze (fire Phantom Edge that Zhang gives you for the Pangzhen relics).
Defensive strategy (parries and dodges)
His most dangerous attack is the red thrust from all seven at once, especially the opening one: always dodge it. Deflect the leader’s two blues and watch for the sword spin that telegraphs the red. If you’re struggling, the Counterstrike Bracers (first Long Pillar) reward deflects.
Strategy with Phantom Edges
Flaming Mane combines fire and group damage; Wan Jun’s Bashpole breaks guards with its wide spins. The Puppeteer’s Bell gives you a distraction so you can heal. Sparks recharge when you rest at a bell.
If you get stuck
- Upgrade your two main weapons before going back (the boss is level 21).
- Don’t leave several disciples alive at once: every extra one multiplies the formation’s hits.
- Drop to Wayfarer: it doesn’t affect any trophy and you can raise the difficulty again later.
Recommended gear
- Flaming Mane or Fire Meteor (fire).
- A fast weapon to take out loose disciples.
- Upgraded medicines: the fight is long.
Rewards
- Swordsman’s Summon: summoning Phantom Edge (2 sparks) that calls a captain and two swordsman disciples.
- Llave de los campos de entrenamiento: opens the way to Yubi, No. 21 Swordfighter Puppet, and to a Herald portal.
- Trophy Sword Against the Seven-Stars (silver).
- If Red took part and you beat her: petal “The Mandate’s Decision” and Twin Fish Pendant.
The other bosses in the area are in the Mandate Encampment bosses and the walkthrough in the Mandate Encampment guide. Looking for another boss? You have the list in all Phantom Blade Zero bosses in order.
Frequently asked questions
Why do the disciples come back to life?
When only three disciples and the leader remain, he revives the one you kill by spending part of his own health. Take them out one at a time and keep up the pressure.
What is the Sword of Despair?
The second phase of the fight: the three remaining disciples climb the towers and control the leader with red threads.
Does Red appear in this fight?
Only if in the Dovecote you left by the chain on the roof without emptying her health. Then she joins the second phase and you have to beat her too.
What does the training grounds key open?
The training grounds at the end of the Encampment, where Yubi and a Herald portal are.